 - 웹뷰에서 트리거된 javascript postMessage로 React Native의 function실행에 대해 대해 알아보도록 하겠습니다.
 - postMessage에 대한 예제를 보고 싶으시다면 이전 글을 보시면 됩니다.
 - http://127.0.0.1:4000/2021/09/09/RN-webview-exchange-data/
 - 여기있는 모든 예제는 https://github.com/JongHyuckLee/webviewWhitRNAndCra 에서 확인할 수 있습니다.
1. React Native 코드
App.js, interface/index.js, data/colors.json 코드를 작성합니다.
아래는 각 예제 입니다.
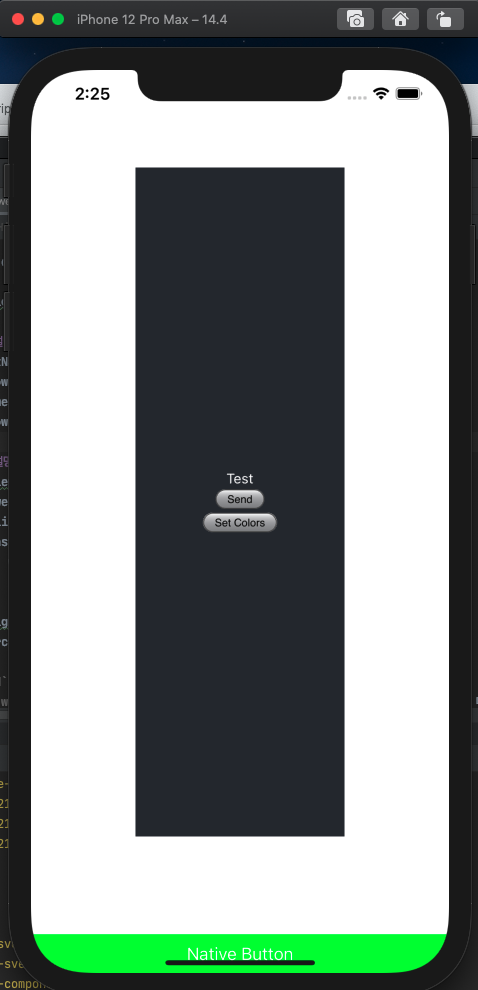
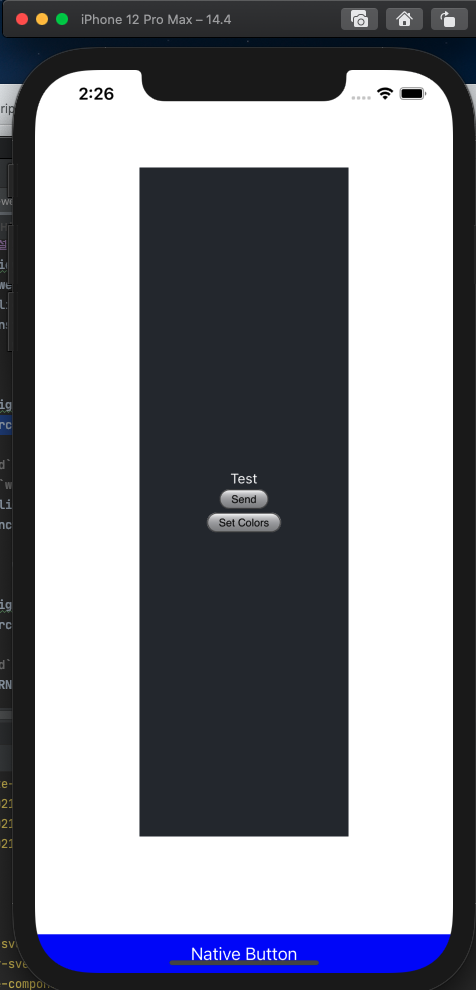
App.js
import{WebView}from"react-native-webview";importReactfrom"react";importInterfacefrom"./interfaces/index"import{Button}from'react-native-elements';exportdefaultfunctionApp(){const[backgroundColor,setBackgroundColor]=React.useState('#0f0')constinjectCode=`window.__TEST__ = 'global test'`constwebviewRef=React.useRef(null);consthandleOnMessage=React.useCallback(async({nativeEvent:{data}})=>{if(Interface[data]){awaitInterface[data]?.(setBackgroundColor);}},[])consthandleOnLoadEnd=()=>{webviewRef.current.postMessage("from RN to Webview")}return(<><WebViewcontainerStyle={{width:'50%',alignSelf:'center',alignContent:'center',borderRadius:15,paddingTop:100,paddingBottom:100,}}domStorageEnabled={true}sharedCookiesEnabled={true}originWhitelist={["*"]}renderLoading={()=><></>}onLoadEnd={handleOnLoadEnd}onMessage={handleOnMessage}ref={webviewRef}source=javaScriptEnabled={true}injectedJavaScript={injectCode}/><Buttontitle="Native Button"buttonStyle=/></>);};
importReactfrom'react';import'./App.css';functionApp(){functionsend(){console.log(window.__TEST__)window?.ReactNativeWebView?.postMessage('From Webview to RN');}functionsetColor(){window?.ReactNativeWebView?.postMessage('setColor');}React.useEffect(()=>{window.addEventListener("message",(e)=>{console.log(e.data)})},[])return(<divclassName="App"><headerclassName="App-header">
Test
<buttononClick={send}>Send</button><buttononClick={setColor}>Set Colors</button></header></div>);}exportdefaultApp;
postMessage를 통해 RN에 메시지를 전달합니다.
Set Colors 버튼을 클릭하면 WebView로 setColor라는 string data가 React Native로 전달됩니다.