[Webview]IOS Webview IOS와 WebView 데이터 교환

IOS Webview IOS와 WebView 데이터 교환하기

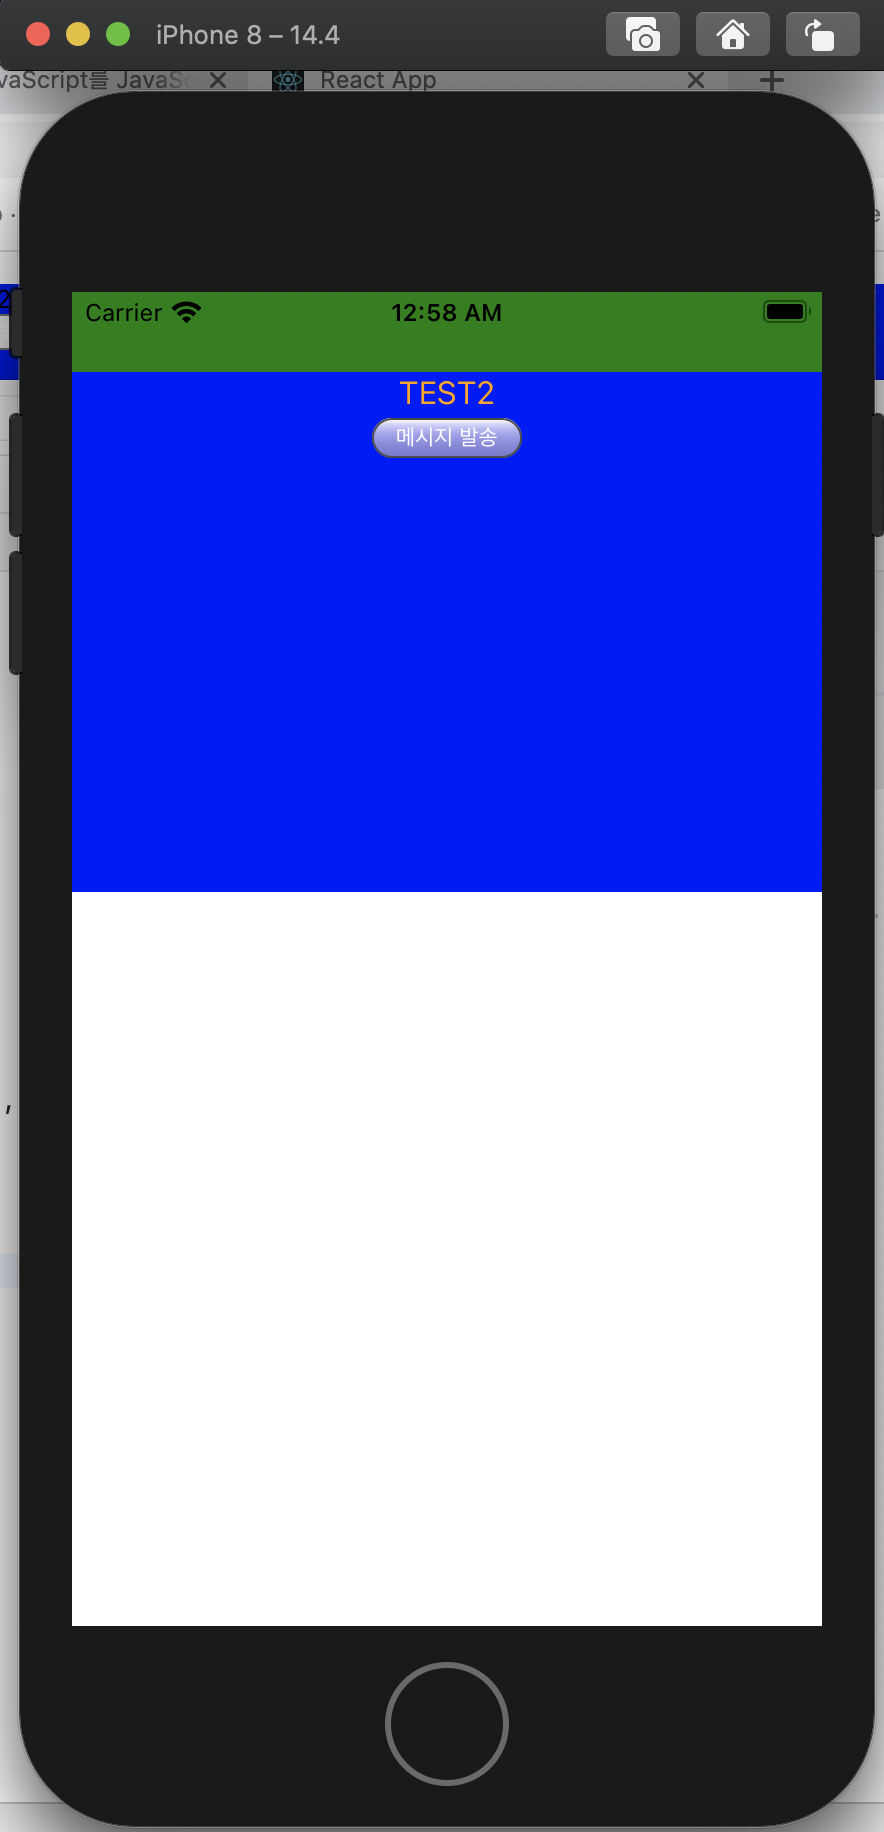
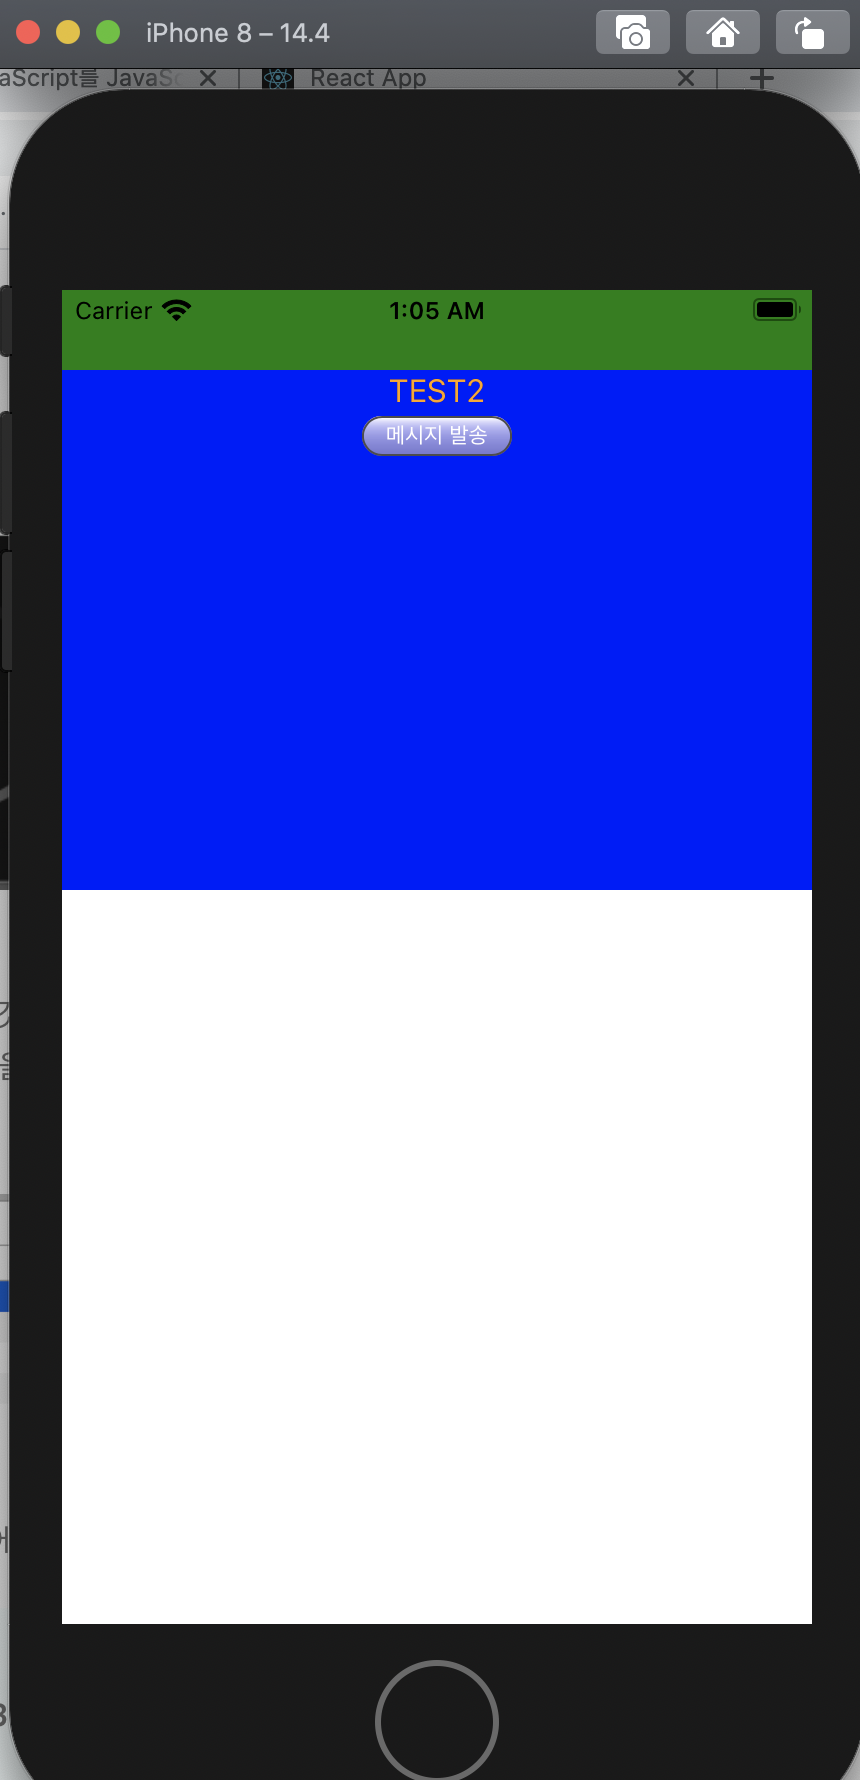
 - IOS와 WebView간 데이터 교환에 대해 알아보겠습니다.
 - 다만 swift 와 ios 개발을 처음 접하다보니 native 개발 지식이 부족할 수 있습니다.
 - swift - webView 연동 글을 보고 싶다면 앞 선 글을 참고하면 됩니다.
 - https://jonghyucklee.github.io/2021/09/10/start-ios-and-webview/

IOS 코드 작성

ViewController.swift

import UIKit
import WebKit
import JavaScriptCore

class ViewController: UIViewController, WKUIDelegate {
    
    var webView: WKWebView!
    
    override func loadView() {
        super.loadView()
         
        self.webView = WKWebView(frame: self.view.bounds)
        
        self.webView.configuration.defaultWebpagePreferences.allowsContentJavaScript = true
        let contentController = self.webView.configuration.userContentController
        let userScript = WKUserScript(source: self.getMyTestScripts(), injectionTime: .atDocumentEnd, forMainFrameOnly: true)
        
        contentController.addUserScript(userScript)
    
        self.webView.frame.size.height = 300
        contentController.add(self, name: "toast")
        self.view.addSubview(webView)
    }
    
    override func viewDidLoad() {
          super.viewDidLoad()
          let url = URL(string: "http://localhost:3000/")
          let request = URLRequest(url: url!)
        
          self.webView.load(request)
       
    }
    
    func getMyTestScripts() -> String {
        let filepath: String! = Bundle.main.path(forResource: "my-test-scripts", ofType: "js")
        do {
            return try String(contentsOfFile: filepath)
        } catch {
             return ""
        }
    
    }

}

extension ViewController: WKScriptMessageHandler {
    
    func userContentController(_ userContentController: WKUserContentController, didReceive message: WKScriptMessage) {
        
        if message.name == "toast" {
            let message = message.body as! String
            self.showToast(message: String(message))
        }
        
    }
    
    func showToast(message : String) {
        let toastLabel = UILabel(frame: CGRect(x: self.view.frame.size.width/2 - 75, y: self.view.frame.size.height-100, width: 150, height: 35))
        toastLabel.backgroundColor = UIColor.black.withAlphaComponent(0.6)
        toastLabel.textColor = UIColor.white
        toastLabel.textAlignment = .center;
        toastLabel.text = message
        toastLabel.alpha = 1.0
        toastLabel.clipsToBounds = true

        self.view.addSubview(toastLabel)
        UIView.animate(withDuration: 4.0, delay: 0.1, options: .curveEaseOut, animations: { toastLabel.alpha = 0.0 }, completion: {(isCompleted) in toastLabel.removeFromSuperview() })
    }
}
  • self.webView.configuration : 웹뷰에 관한 기본 설정입니다.
    • allowsContentJavaScript : 웹뷰 내에서 js 사용을 허용합니다.
  • WKUserScript : Load 시점에 웹뷰 내에서 실행할 execute될 js 코드입니다., Load 이후 부터는 적용안됨
    • native 이벤트와 같이 native 내에서 호출 시점 이후에 js 코드를 실행하고 싶다면, self.webView.evaluateJavaScript를 사용합니다.
  • userContentController :
    • 웹과 native 간에 상황에 따른 인터페이스를 정의함.
    • addUserScript 통해 native -> webview에서 실행할 함수 또는 코드를 정의
    • add를 통해 web -> native에서 실행할 interface 정의
    • ex) addUserScript : contentController.addUserScript(userScript)
    • ex) add : contentController.add(self, name: “toast”)
  • getMyTestScripts :
    • web에서 실행 시킬 script를 모아놓은 js 파일을 읽어오는 커스텀 함수
  • userContentController :
    • js에서 postMessage로 발송된 event를 받는 handler(controller)
  • showToast :
    • toast 관련 정의 함수

my-test-scripts.js


window.__SWIFT_CALL__.setBackgroundColor();
window.__SWIFT_CALL__.setTextColor("orange");
window.__SWIFT_CALL__.setJwt("eby1131afwafawfawazvavjowjojfowjofwfwfawfafaf");
  • window에서 key chain을 통해 호출한 이유
    • 어차피 모든 객체의 부모는 window 입니다.
    • 전역 parent 객체인 window 아래에 NameSpace를 만들고 swift 용 function을 정의하기 위함입니다.
  • SWIFT_CALL
    • 꼭 필요한 key값은 아닙니다.
    • webView에서의 기존 함수와 naming 충돌을 방지하기 위한 NameSpace입니다.
js window 객체에 setTest()라는 함수가 정의 되어 있다면
 seTest();  같이 호출해도 됩니다.

webView 코드 작성

index.html

<!DOCTYPE html>
<html lang="en">
  <head>
    <meta charset="utf-8" />
    <link rel="icon" href="%PUBLIC_URL%/favicon.ico" />
    <meta name="viewport" content="width=device-width, initial-scale=1" />
    <meta name="theme-color" content="#000000" />
    <meta
      name="description"
      content="Web site created using create-react-app"
    />
    <link rel="apple-touch-icon" href="%PUBLIC_URL%/logo192.png" />
    <!--
      manifest.json provides metadata used when your web app is installed on a
      user's mobile device or desktop. See https://developers.google.com/web/fundamentals/web-app-manifest/
    -->
    <link rel="manifest" href="%PUBLIC_URL%/manifest.json" />
    <!--
      Notice the use of %PUBLIC_URL% in the tags above.
      It will be replaced with the URL of the `public` folder during the build.
      Only files inside the `public` folder can be referenced from the HTML.

      Unlike "/favicon.ico" or "favicon.ico", "%PUBLIC_URL%/favicon.ico" will
      work correctly both with client-side routing and a non-root public URL.
      Learn how to configure a non-root public URL by running `npm run build`.
    -->
    <script type="text/javascript">
      window["__SWIFT_CALL__"] = {}
    </script>
    <title>React App</title>
  </head>
  <body>
    <noscript>You need to enable JavaScript to run this app.</noscript>
    <div id="root">
    </div>

    <!--
      This HTML file is a template.
      If you open it directly in the browser, you will see an empty page.

      You can add webfonts, meta tags, or analytics to this file.
      The build step will place the bundled scripts into the <body> tag.

      To begin the development, run `npm start` or `yarn start`.
      To create a production bundle, use `npm run build` or `yarn build`.
    -->
  </body>
</html>

index.js

import React from "react";
import ReactDOM from "react-dom";
import "./index.css";
import App from "./App";

window["__SWIFT_CALL__"] = {
...window["__SWIFT_CALL__"],
setBackgroundColor: function () {
    document.body.style.backgroundColor = 'green'
}
}
ReactDOM.render(
  <React.StrictMode>
    <App />
  </React.StrictMode>,
  document.getElementById("root")
); 

App.js

import React from "react";
import "./App.css";
import { isIos } from "./utils/userAgent";


window["__SWIFT_CALL__"] = {
    ...window["__SWIFT_CALL__"],
    setTextColor:function (color) {
       document.body.style.color = color
    }
}

function App() {

  const send = () => {
    if (isIos()) {
      window.webkit.messageHandlers.toast.postMessage("Hello WebKit");
    }
  };

  React.useState(() => {
      window["__SWIFT_CALL__"] = {
          ...window["__SWIFT_CALL__"],
          setJwt:function (jwt) {
              localStorage.setItem("jwtToken", jwt);
              return jwt;
          }
      }
  });


  return (
    <div style= className="App">
      <div>TEST2</div>

      <button style= onClick={send}>
        메시지 발송
      </button>
    </div>
  );
}

export default App;

utils/userAgent.js

export const isAndroid = () => !!navigator?.userAgent?.match(/Android/i);
export const isIos = () => !!navigator?.userAgent?.match(/iPhone|iPad|iPod/i);
export const isMobile = () => isAndroid() || isIos();

native call

  • window에 닿을 수 있는 곳에 native가 call할 수 있는 함수를 정의합니다.
    • ex)
    • index.html의 script
    • 함수 스코프 내외
    • useState 작동 시점
  • html render 후 해당 함수가 존재해야 합니다.
  • 해당 함수가 존재하지 않는다면 undefined error 발생.

webview call

  • ex ) window.webkit.messageHandlers.toast.postMessage
  • window 하위 webkit에 존재하는 messageHandlers를 사용
  • messageHandlers 에 바인딩된 Native ViewController에서 정의한 interface chainning
  • postMessage를 통해 데이터 전송

실행화면

  • setBackgroundColor : 배경화면이 초록색으로 변한것을 확인할 수 있습니다.
  • setTextColor : TEST2 라는 텍스트가 오렌지 색인 것을 확인할 수 있습니다.

  • setJwt : 이미지를 통해 jwt token이 local starage에 저장된 것을 확인할 수 있습니다.

  • window.webkit.messageHandlers.toast.postMessage(“Hello WebKit”);
  • webView에서 발송된 메시지가 native에서 정상적으로 실행됐음을 확일 할 수 있습니다.
출처:
- https://stackoverflow.com/questions/31540375/how-to-create-a-toast-message-in-swift

git example : 
- https://github.com/JongHyuckLee/webviewStudy