 - Android에서 웹뷰 연동 시작하기에 대해 공부해 보겠습니다.
 - 다만 kotlin 와 android 개발을 처음 접하다보니 native 개발 지식이 부족할 수 있습니다.
 - webview로 사용될 react 화면은 이전 블로그 글 소스를 이용하겠습니다.
 - https://jonghyucklee.github.io/2021/09/10/ios-webview-exchange-data/
Android 코드 작성
MainActivity
packagecom.example.androidwebviewimportandroidx.appcompat.app.AppCompatActivityimportandroid.os.Bundleimportandroid.webkit.WebViewclassMainActivity:AppCompatActivity(){overridefunonCreate(savedInstanceState:Bundle?){super.onCreate(savedInstanceState)setContentView(R.layout.activity_main)valwebView:WebView=findViewById(R.id.webView)webView.settings.javaScriptEnabled=truewebView.loadUrl("[local server ip] : [port]")}}
Ios에 비해 Android 코드가 직관적이고 바로 보기 쉽습니다.
WebView 관련 패키지를 import하고 사용하면 됩니다.
javaScriptEnabled : WebView에서 js를 사용할 수 있는지에 대한 설정값입니다.
loadUrl : webView에 로드할 url입니다.
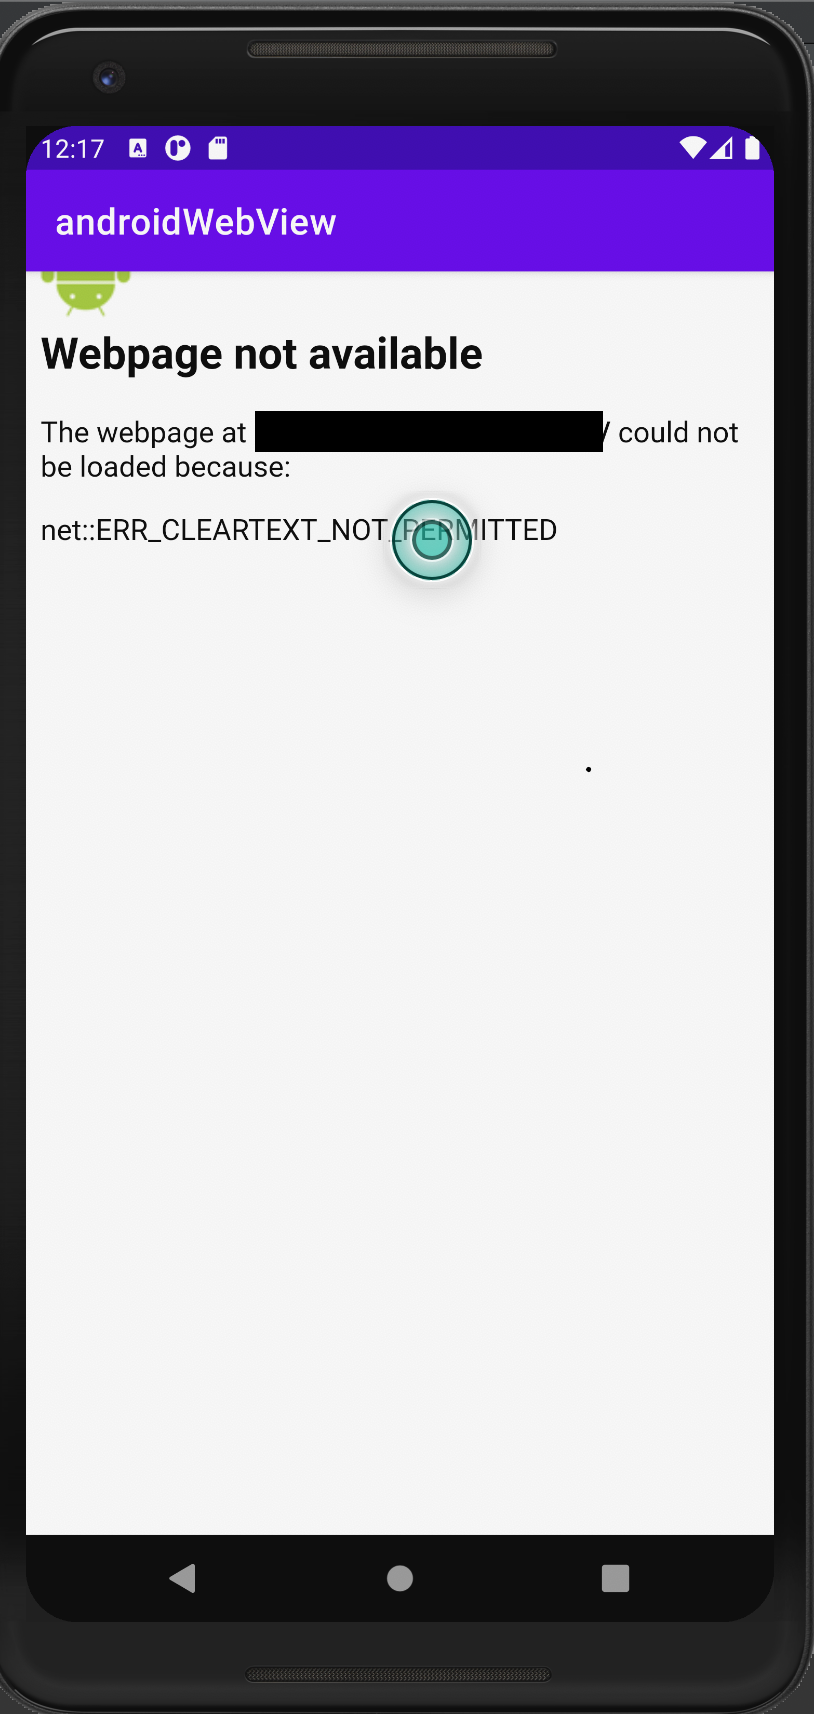
실행화면 - ERROR
webView가 제대로 로드되지 않습니다.
http 로드를 시도하려고 할 때 안드로이드 내의 보안정책에 위배되기 때문입니다.
net::ERR_CLEARTEXT_NOT_PERMITTED 에러가 발생합니다.
에러를 하기 위해 추가적인 설정을 해주어야 합니다.
local ip 알아내기
커맨드 창 열기
ifconfig 명령어 입력
en0 > inet ip 정보를 알아냅니다.
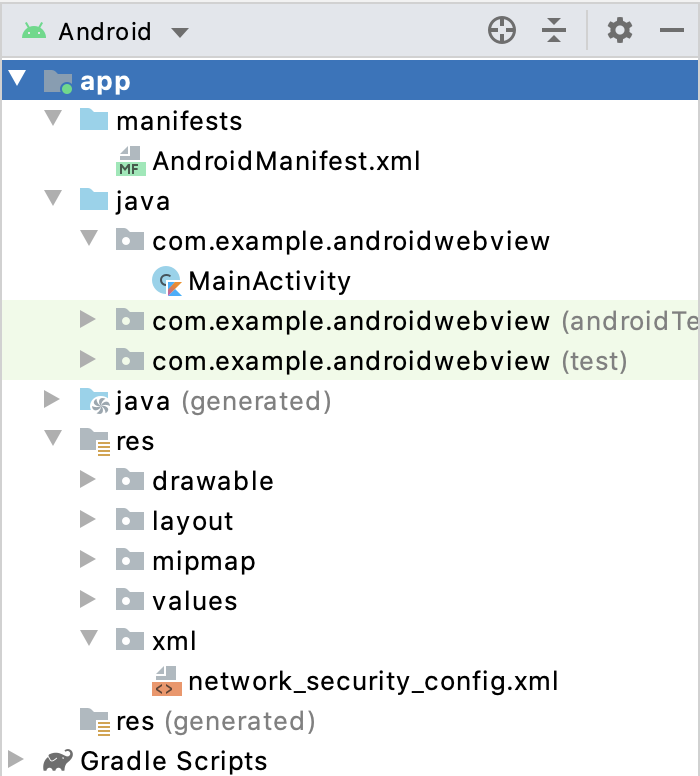
res > xml > network_security_config.xml 작성
<?xml version="1.0" encoding="utf-8"?><network-security-config><domain-configcleartextTrafficPermitted="true"><domainincludeSubdomains="true">[위에서 알아낸 local ip]</domain></domain-config></network-security-config>