 - Android와 WebView간 데이터 교환에 대해 알아보겠습니다.
 - 다만 Kotlin 과 android 개발을 처음 접하다보니 native 개발 지식이 부족할 수 있습니다.
 - kotlin - webView 연동 글을 보고 싶다면 앞 선 글을 참고하면 됩니다.
 - https://jonghyucklee.github.io/2021/09/18/start-android-webview/
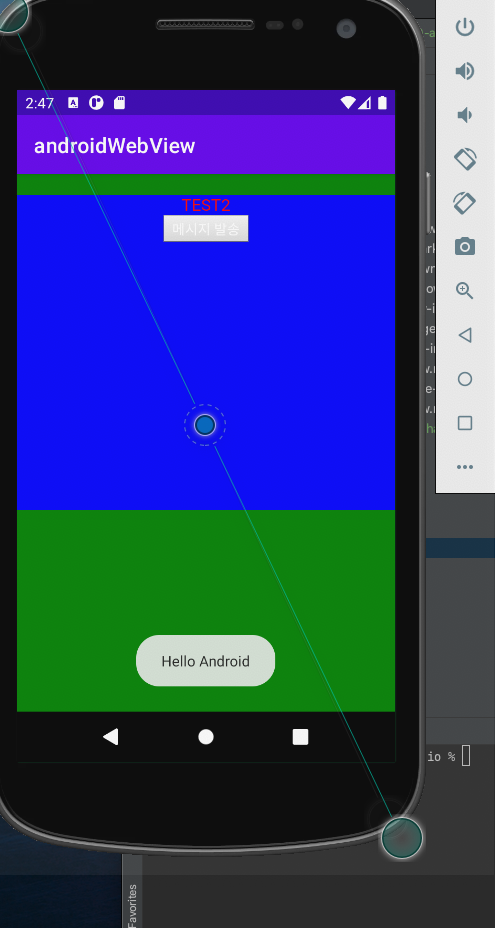
webview에서 native로 실행시킬 수 있는 interface 함수를 정의한 클래스 입니다.
여기서는 toast를 통해 webview에서 받아온 메시지를 띄워줍니다.
WebViewClient :
웹뷰에서의 발생하는 다양한 요청이나 상태 에러 등 다양한 상황에서의 콜백을 조작할 수 있습니다.
다양한 생명주기 메서드가 있으며, 웹뷰 생명주기에 따라 다양한 상황 별 행위를 정의할 수 있습니다.
여기서는 웹뷰의 로드가 완료된 후 webview에 정의된 메서드를 정의하는 역할을 하는 custom WebViewClient class를 정의하고 사용했습니다.
WebChromeClient :
WebViewClient 비슷한 역할을 하지만, chrome에 특화된 역할을 합니다.
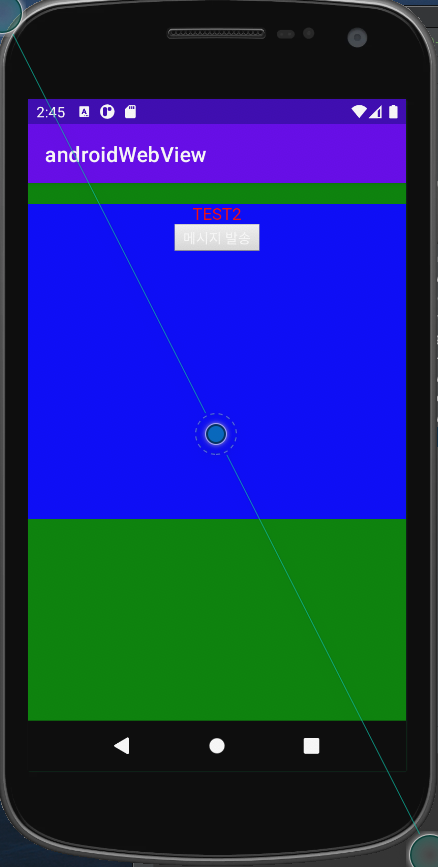
WebView에 정의된 js 코드 호출 :
웹 페이지 로드 후 view.loadUrl(“javascript:SWIFT_CALL.setTextColor(‘red’)”) 와 같이 호출할 수 있습니다.
버전에 따라 loadUrl 혹은 evaluateJavascript 를 사용할 수 있습니다.
webView 코드 작성
index.html
<!DOCTYPE html><htmllang="en"><head><metacharset="utf-8"/><linkrel="icon"href="%PUBLIC_URL%/favicon.ico"/><metaname="viewport"content="width=device-width, initial-scale=1"/><metaname="theme-color"content="#000000"/><metaname="description"content="Web site created using create-react-app"/><linkrel="apple-touch-icon"href="%PUBLIC_URL%/logo192.png"/><!--
manifest.json provides metadata used when your web app is installed on a
user's mobile device or desktop. See https://developers.google.com/web/fundamentals/web-app-manifest/
--><linkrel="manifest"href="%PUBLIC_URL%/manifest.json"/><!--
Notice the use of %PUBLIC_URL% in the tags above.
It will be replaced with the URL of the `public` folder during the build.
Only files inside the `public` folder can be referenced from the HTML.
Unlike "/favicon.ico" or "favicon.ico", "%PUBLIC_URL%/favicon.ico" will
work correctly both with client-side routing and a non-root public URL.
Learn how to configure a non-root public URL by running `npm run build`.
--><script type="text/javascript">window["__SWIFT_CALL__"]={}</script><title>React App</title></head><body><noscript>You need to enable JavaScript to run this app.</noscript><divid="root"></div><!--
This HTML file is a template.
If you open it directly in the browser, you will see an empty page.
You can add webfonts, meta tags, or analytics to this file.
The build step will place the bundled scripts into the <body> tag.
To begin the development, run `npm start` or `yarn start`.
To create a production bundle, use `npm run build` or `yarn build`.
--></body></html>